Cloud Backup and Recovery Software -
The Official Zmanda Blog
Stay up-to-date on all things backup, data security and more!
FEATURED READ

Optimizing Backup Efficiency with Data-Dependent Chunking and Deduplication
Have you ever considered how much of your organization's resources are wasted on inefficient da...
Mastering RTO and RPO Challenges: Expert Solutions
Introduction Ever experienced that heart-stopping moment when your server throws a tantrum and y...
POPULAR CATEGORIES
Optimizing Backup Efficiency with Data-Dependent Chunking and Deduplication
Have you ever considered how much of your organization's resources are wasted on inefficient da...

Mastering RTO and RPO Challenges: Expert Solutions
Introduction Ever experienced that heart-stopping moment when your server throws a tantrum and y...
10 Steps for Disaster Recovery Planning (DRP) with Zmanda
Natural disasters, ransomware, and human error... Oh my! These and the countless other threa...
Ultimate Disaster Recovery Plan Checklist 2024
Imagine this scenario: Your team is diligently working towards crucial deadlines when suddenly,...
Offsite Backups: Mastering Disaster Recovery—Part 2
In the previous article, I wrote about the seven levels of disaster recovery. Read it here for more...
Mastering Seven Tiers of Disaster Recovery—Part 1
When discussing business continuity plans, it's important to understand the concepts of high availa...
Navigating Large Data Backup to Public Cloud: Challenges & Best Practices
In the era of big data, storing and managing petabytes of data is the new norm. There is a need to ...
Introducing Zmanda 5.1: Faster Backups and Cost Savings with Integrated Disaster Recovery & Deduplication
Key features of Zmanda 5.1: Easily modify log levels for better debugging and performance insig...
Introducing Zmanda Pro: Adding M365 Backup, Client-Side Deduplication, Straight-to-Target Storage, and More
Top 3 Reasons to Choose Zmanda Pro: Secure Your M365 Data: Back up your Outlook, SharePoint, On...
Release Update: Zmanda Endpoint Backup 2.7 Delivers Enhanced Continuous Data Protection
Key Enhancements of Zmanda Endpoint Backup 2.7 Include: Onboard users quickly and easily with b...
6 Revelations on Zmanda’s MySQL Backup and Data Replication Technology for Business Continuity
Businesses are turning to data replication software as part of a backup recovery plan. No doubt,...
Tape Library Configuration with Zmanda
Zmanda is undoubtedly a globally recognized provider of the leading open-source backup and recovery...
Disaster Recovery and Tape Storages’ Role
Always remember to plan ahead. It wasn't raining when Noah built the ark.~Richard Cushing Desp...
Navigating the Tape Backup Strategy as Part of the Hybrid Cloud Strategy
We're entering a new world where data might be more important than software. ~ Tim O'Reilly In t...
Understanding the Tape Landscape
When the why is clear, the how is easy. In the previous blog of our tape series, “Tapes ...
Tapes as a timeless long-term investment
"Data is a precious thing and will last longer than the systems themselves." Tim Berners-Lee, inv...
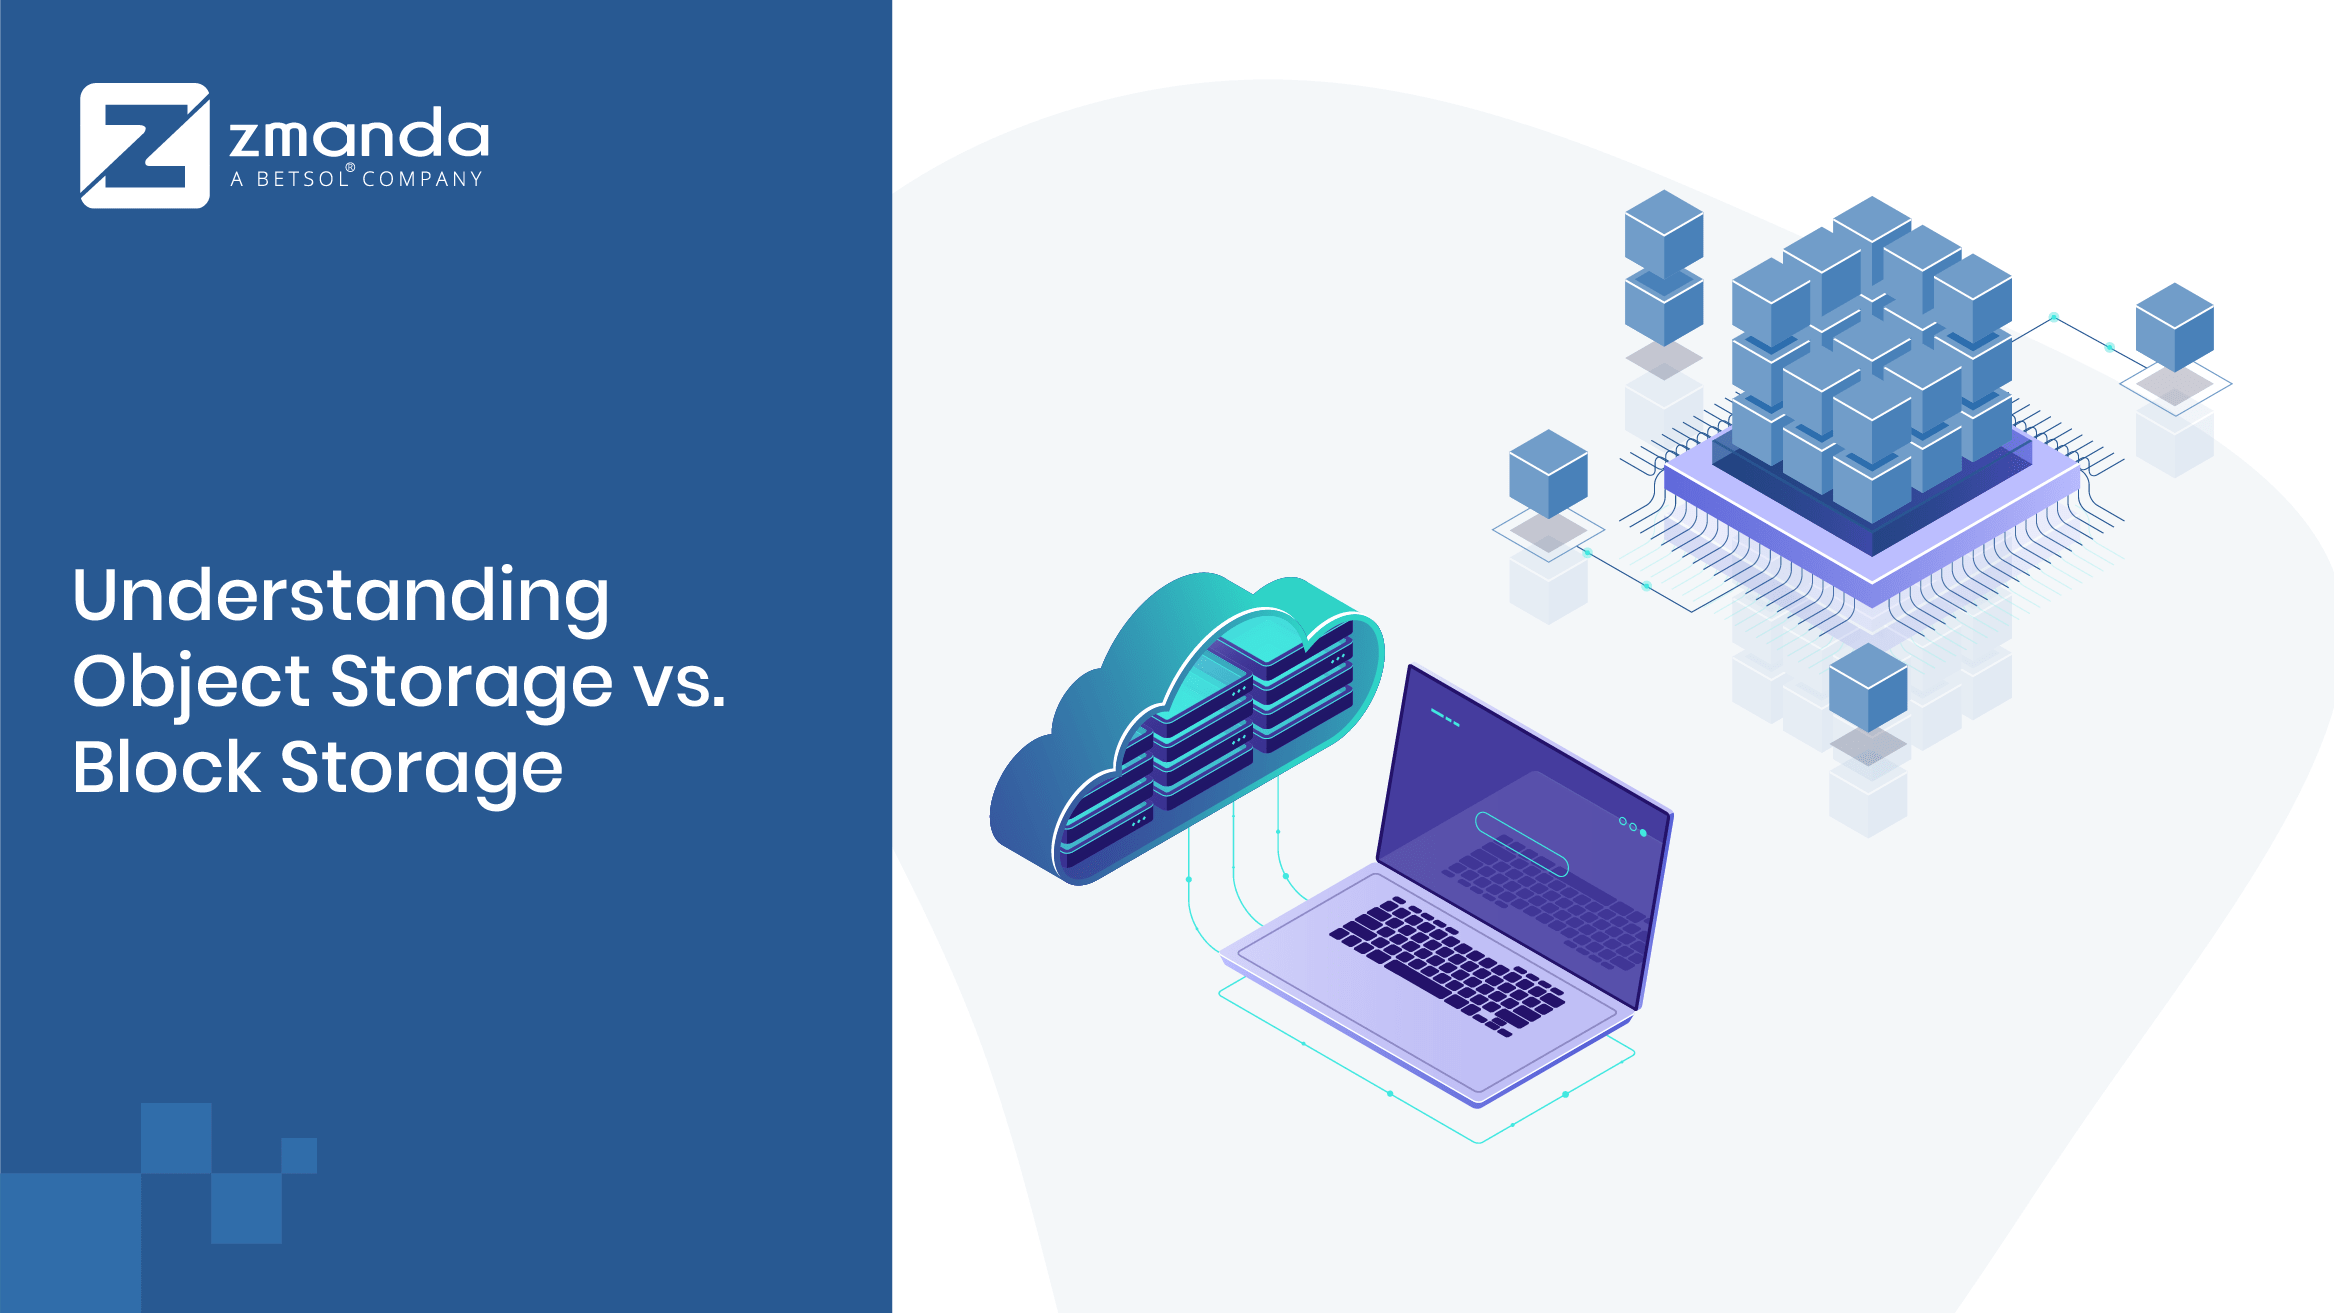
Understanding Block Storage vs Object Storage
Block storage vs Object storage, which is the right fit for today's data storage environments? ...
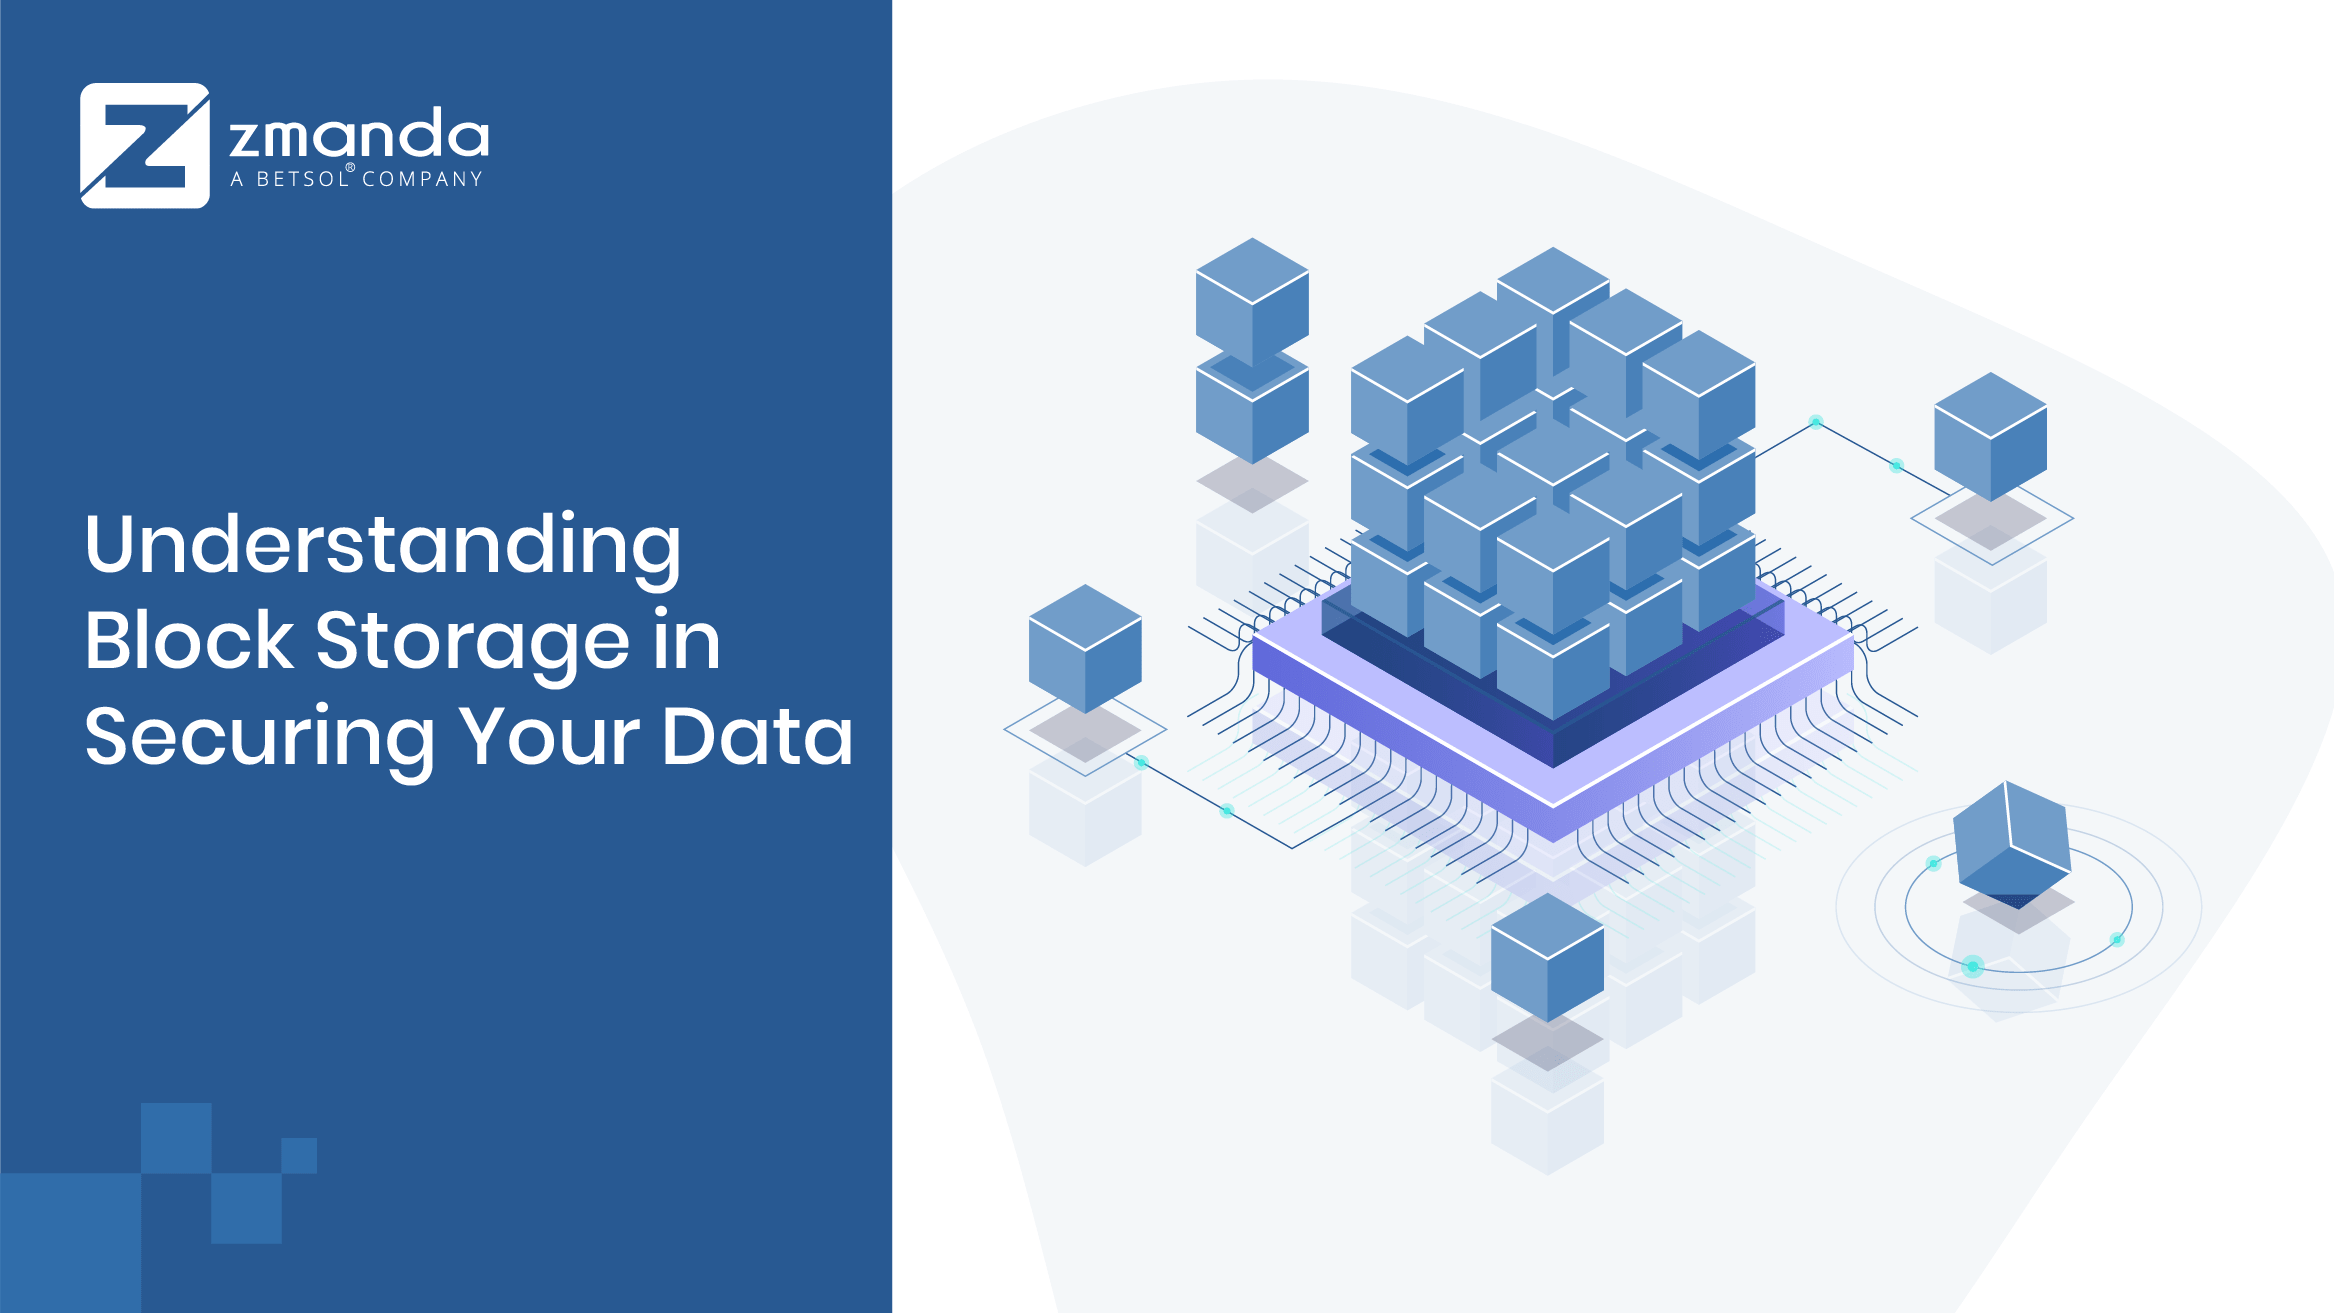
Understanding Block Storage in Securing Your Data
Modern enterprise storage for primary workloads aims at three crucial parameters wherein block stor...
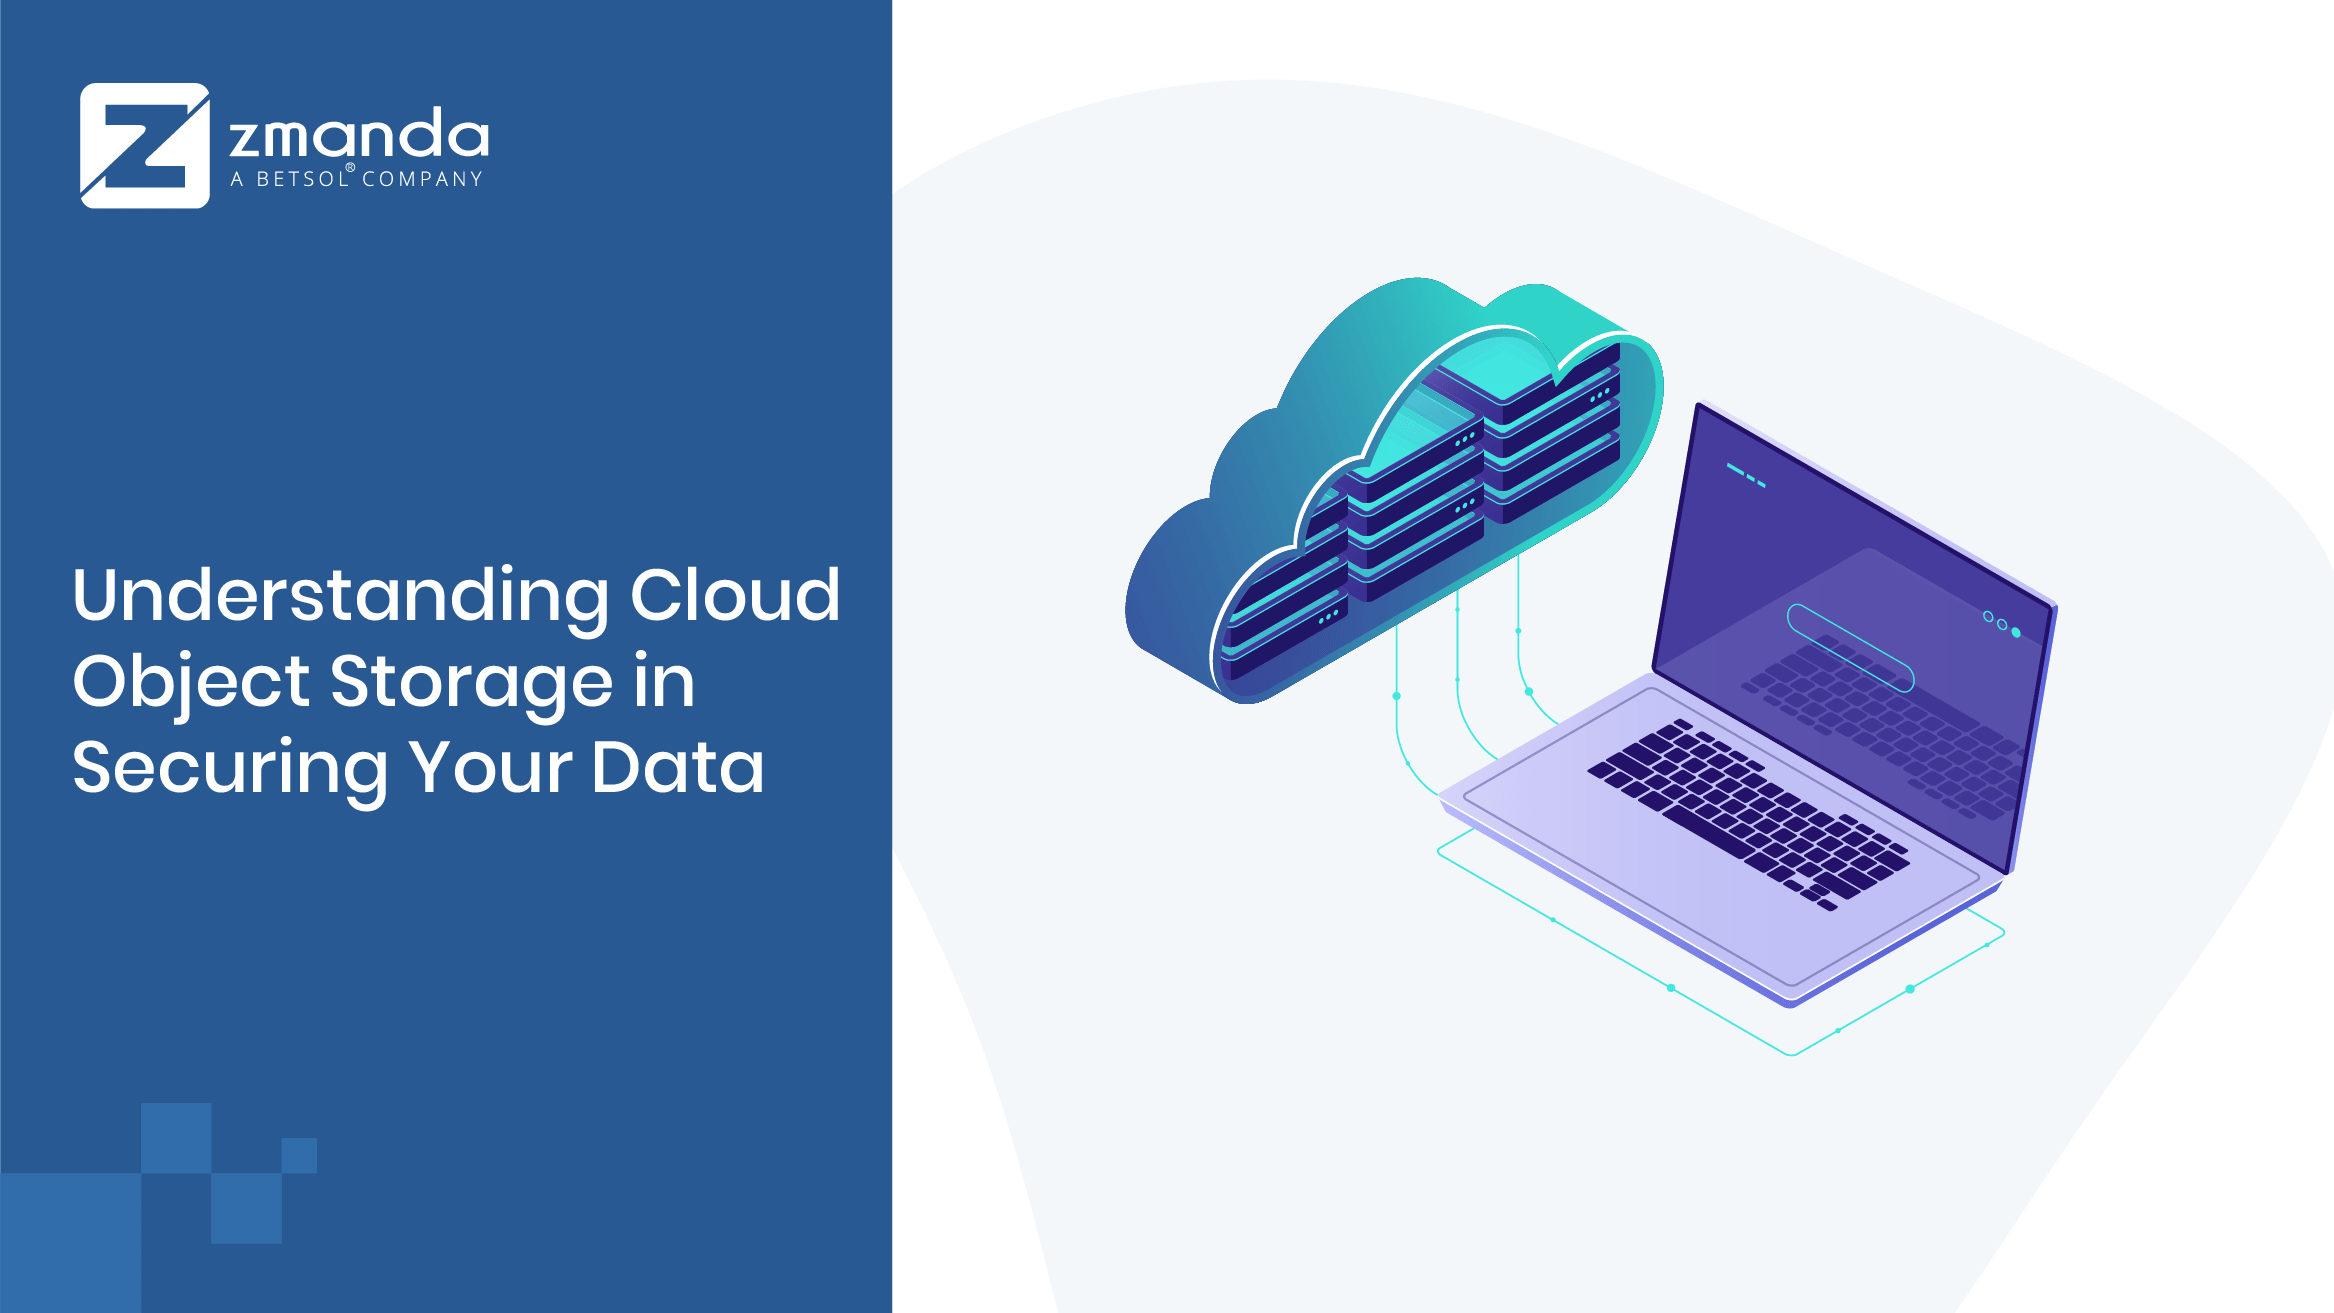
Understanding Cloud Object Storage in Securing Your Data
As per the IDC's prediction, "unstructured data will represent 80% of data worldwide by 2025." ...
Introducing Zmanda 5.1: Faster Backups and Cost Savings with Integrated Disaster Recovery & Deduplication
Key features of Zmanda 5.1: Easily modify log levels for better debugging and performance insig...
Introducing Zmanda Pro: Adding M365 Backup, Client-Side Deduplication, Straight-to-Target Storage, and More
Top 3 Reasons to Choose Zmanda Pro: Secure Your M365 Data: Back up your Outlook, SharePoint, On...
Release Update: Zmanda Endpoint Backup 2.7 Delivers Enhanced Continuous Data Protection
Key Enhancements of Zmanda Endpoint Backup 2.7 Include: Onboard users quickly and easily with b...
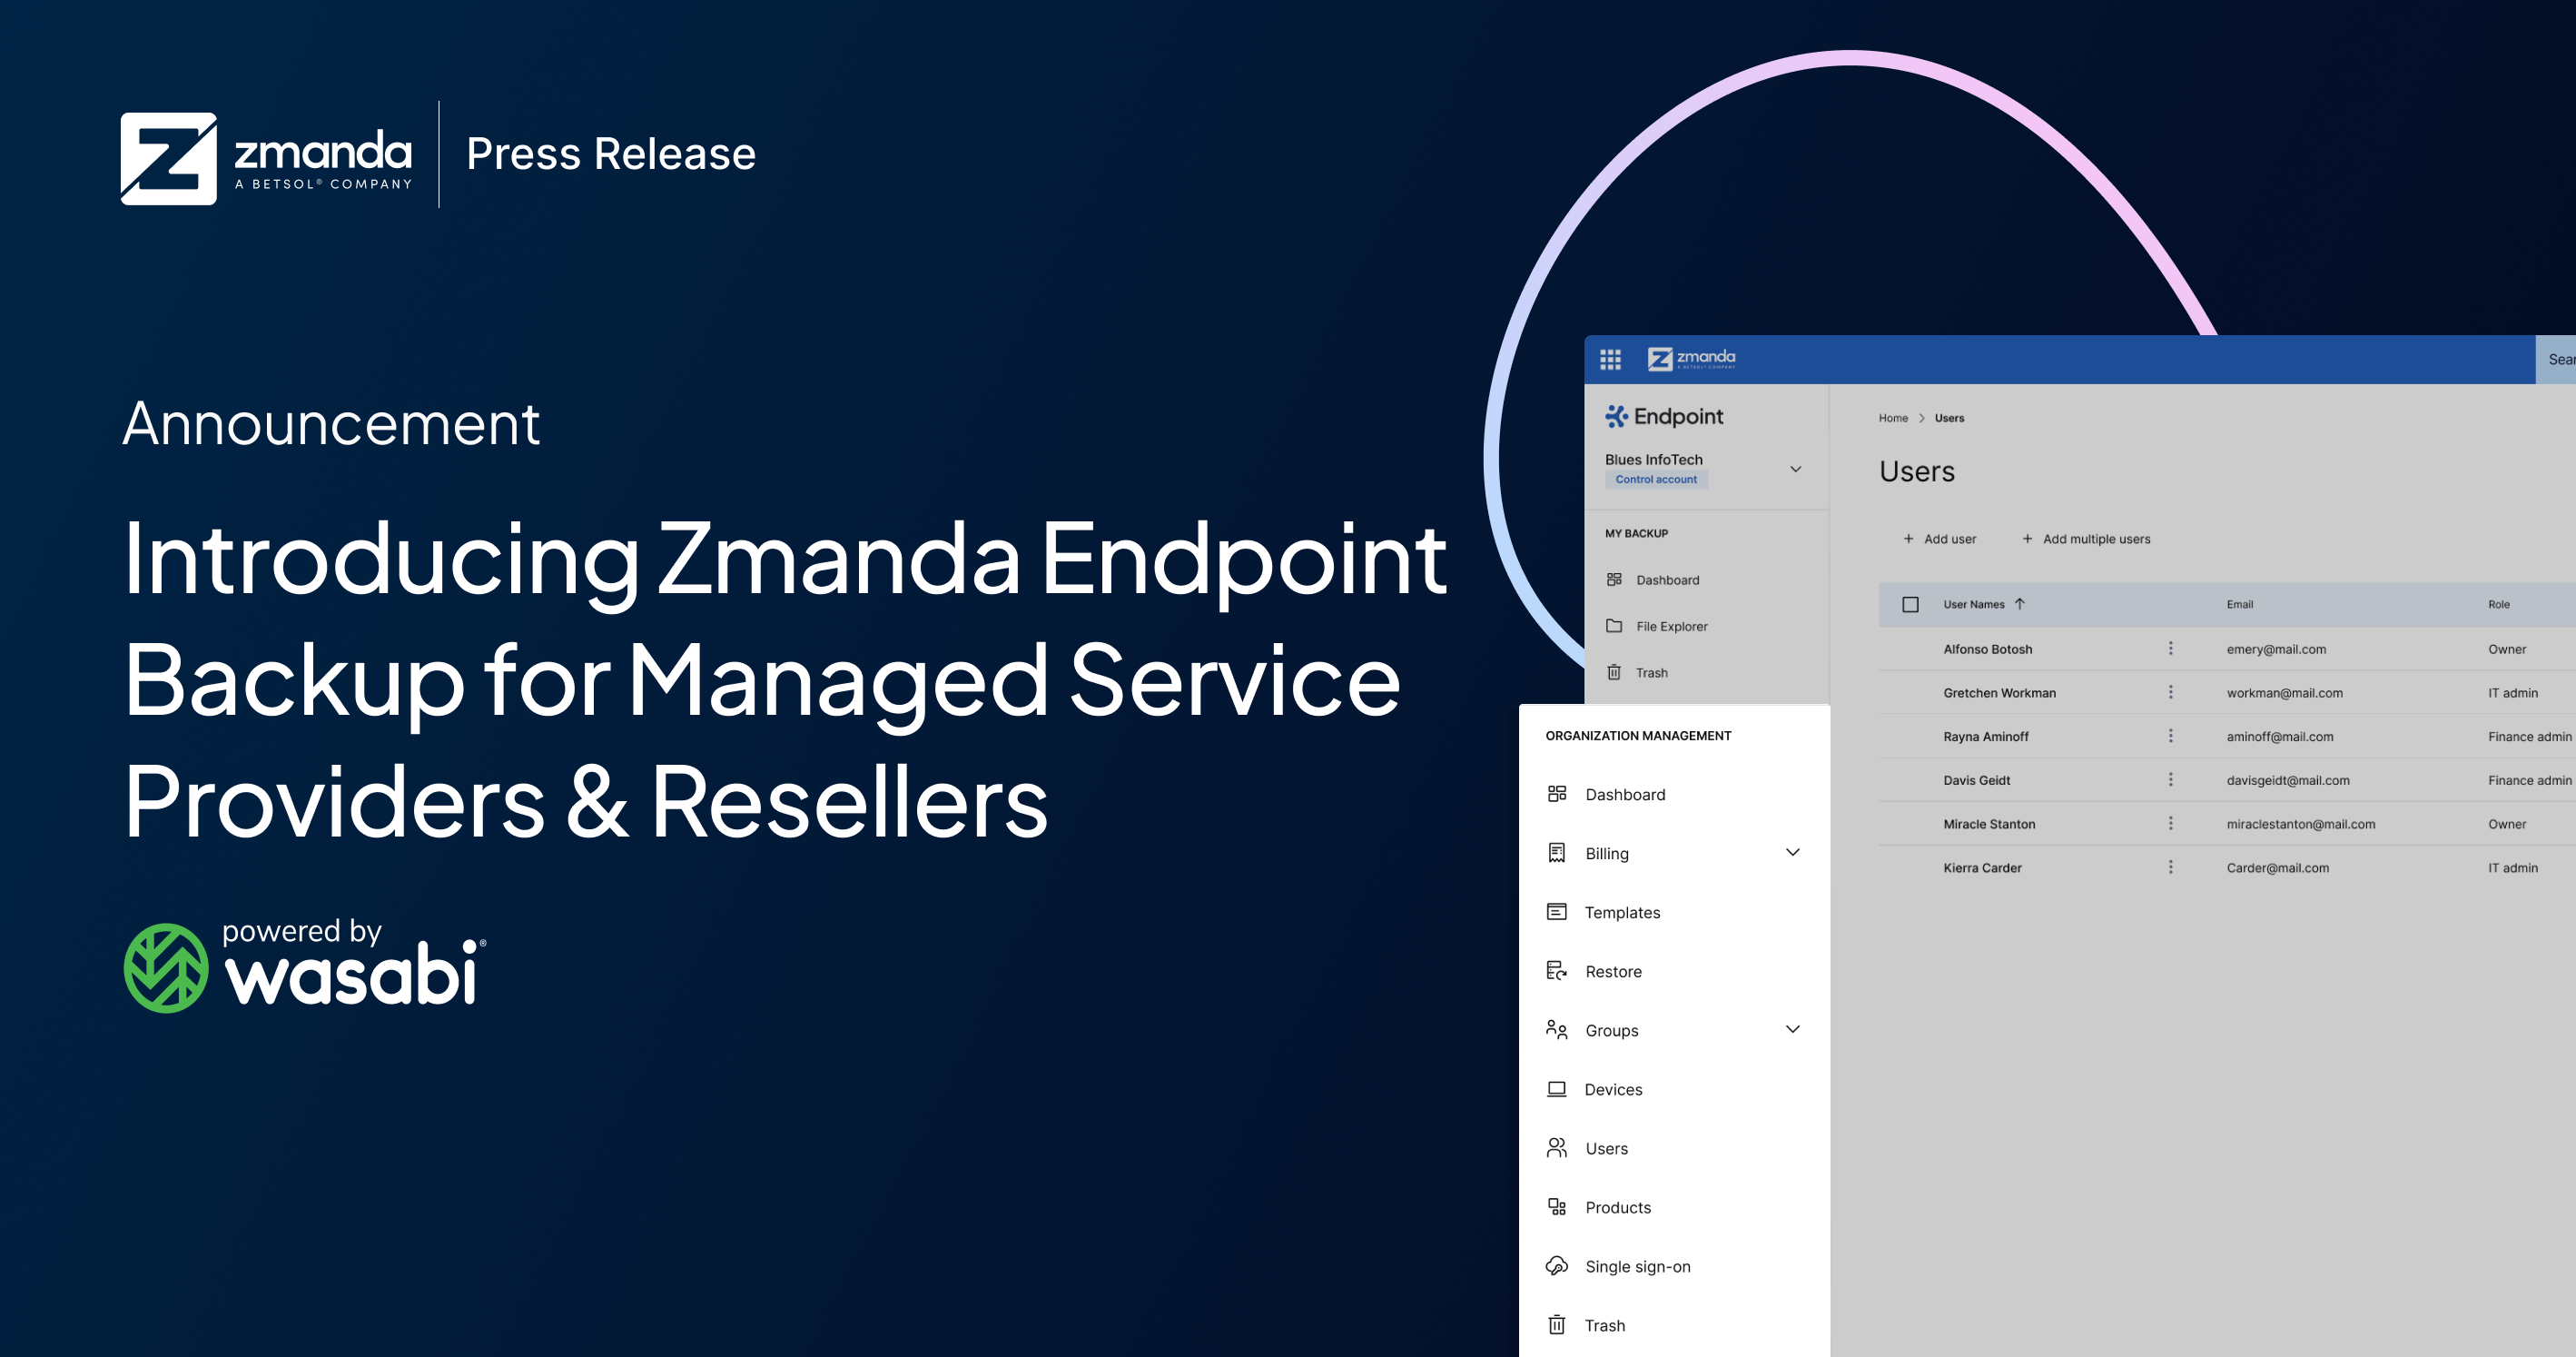
Announcement: Introducing Zmanda Endpoint Backup for MSPs & Resellers
Zmanda Endpoint Backup for MSPs provide: Centralized subaccount and organization management. ...
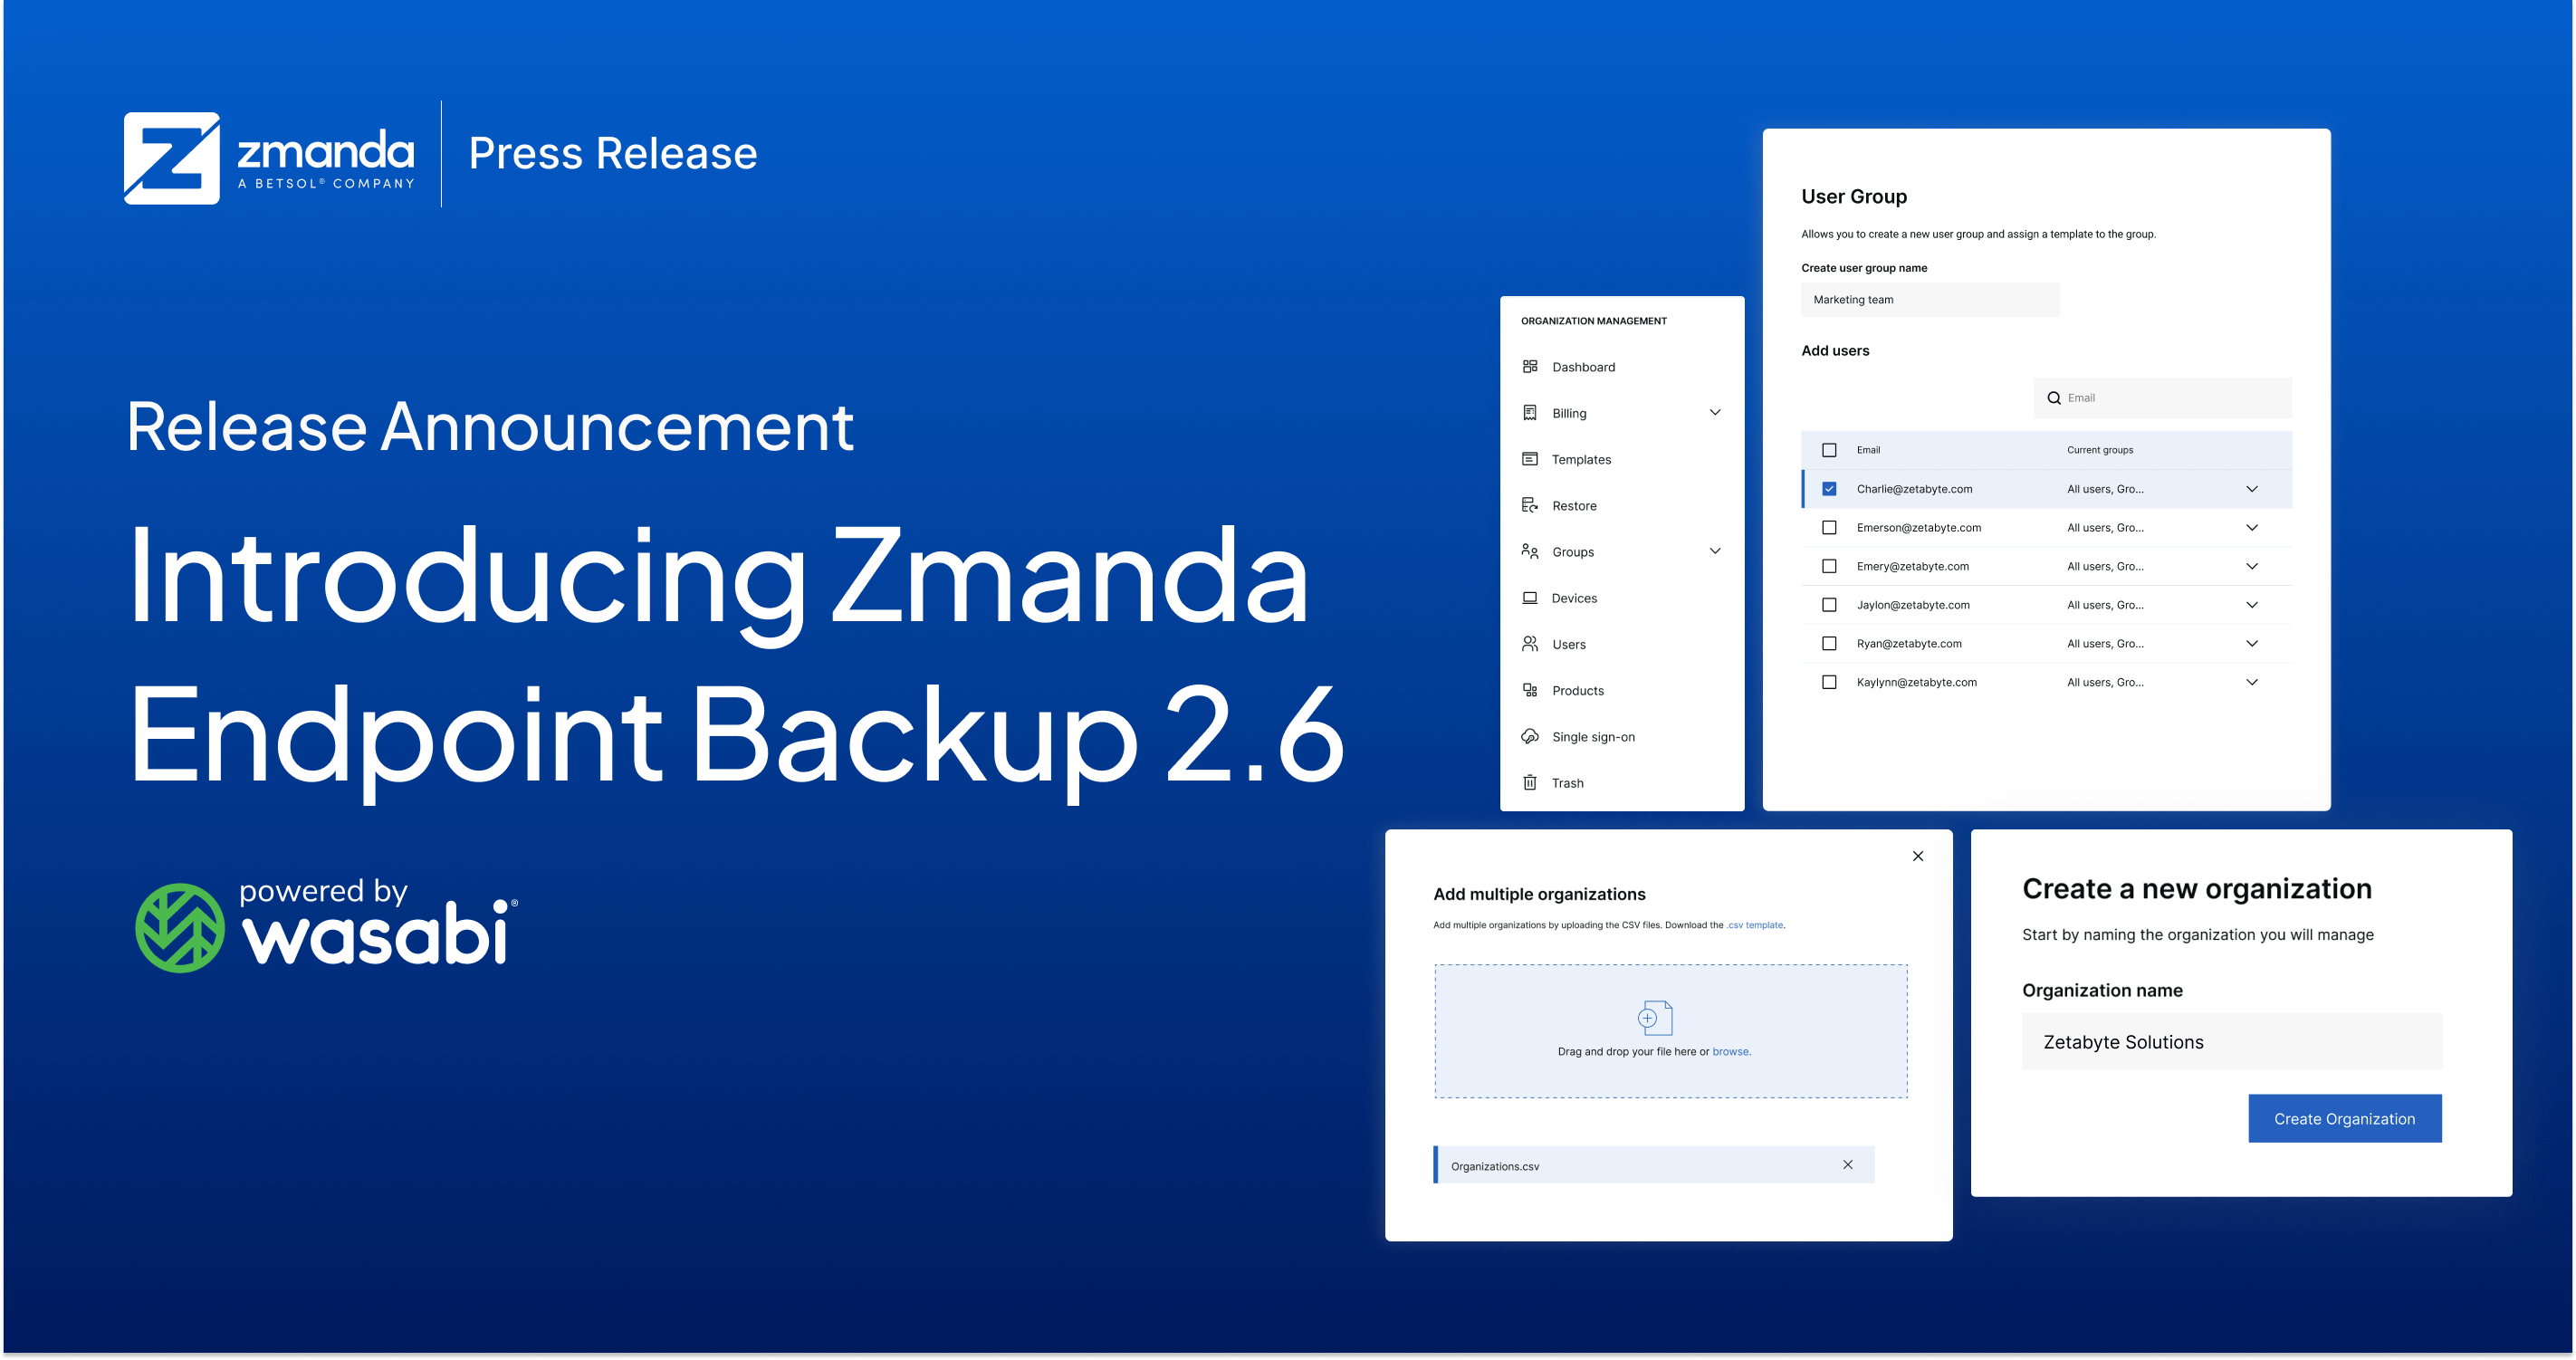
Release Announcement: Introducing Zmanda Endpoint Backup Version 2.6
Broomfield, Colorado, January 2023 We are pleased to announce the release of Zmanda Endpoint Bac...
Releasing Zmanda 5.0: Managed Cloud Storage, Enhanced Glacier Features, SSO, and More
Broomfield, Colorado, May 2023 We are pleased to announce the release of the all-new feature-pac...


Zmanda and Open Source Solutions Partner to Deliver Enterprise Backup in Saudi Arabia
Zmanda, the #1 open-source backup and recovery software, is partnered with Open Source Solutions SA...
Releasing Zmanda’s New Cloud-Based Endpoint Backup Solution
Broomfield, Colorado, April 2023 We are pleased to announce the launch of Zmanda Endpoint Backup...
Zmanda, a BETSOL company, & Wasabi Partner to Provide a Highly Cost-Effective & Scalable Managed Cloud Storage Solution
Broomfield, Colorado, April 2023– Zmanda, a BETSOL company that provides reliable enterprise back...
Offsite Backups: Mastering Disaster Recovery—Part 2
In the previous article, I wrote about the seven levels of disaster recovery. Read it here for more...
How Data Backups Equip You to Tackle the Data Integrity Scare
For any individual, company be it a start-up or a multinational, data is a vital piece of the busin...

Adoption of GDPR into the Data Systems of Universities
The landmark date of 25th May 2018 will hold great significance, as a date etched on the footsteps t...
TechRepublic: How to Get Started with Open-Source Backup Software
There are many choices for corporate backup software, and it's easy to overlook the open-source opt...
AWS S3 Backup made easy thanks to Zmanda
AWS S3 has become a storage of choice for many businesses now, backed by the fame of Amazon S3 Glac...
Near-Continuous Data Protection (CDP) of SQL Server
With version 4.5, ZCB now supports incremental (log-based) backups of SQL Server. This helps a gr...
Amanda and Grandfather-Father-Son (GFS) Backup Tape Rotation
Grandfather-Father-Son (GFS) backup is one of the most popular backup schemes. It allows you to sav...
Experience The All-New Zmanda Endpoint Backup: Cloud-Based Solution for Endpoint Protection
Key features: Bundled cloud storage powered by Wasabi Affordable, all-inclusive, per-employe...
Announcement: Introducing Zmanda Endpoint Backup– A Scalable Cloud-Based Backup Solution
Broomfield, Colorado, April 2023 Zmanda has been powering enterprise backups since 1991 and is p...

What is Data Breach?
What is Data Breach and How to Handle them Many a time, you might have come across these words �...
Cloud Storage – Types, Services, and Benefit
Cloud Storage for Businesses It’s time to say goodbye to physical storage devices such ...
Benefits of Cloud Storage
Cloud storage services seem to overtake on-site storage options like hard drives and serve...
Can Backup Help Me Recover From a Virus?
Backup is a lifesaver, especially when it comes to recovering from a virus. If a malicious fil...
Storing LTO Tapes Safely for Decades to Come
An ounce of prevention is worth a pound of cure. Benjamin Franklin Linear Tape-Open tapes procu...
What is Disaster Recovery Testing? Fundamentals and Best Practices
What is the Meaning of Disaster Recovery Testing? Disaster recovery testing simulates real-world...
Data Backup With ZMC’s Unique Powers
Explore the unique functionalities of the Zmanda Management Console and take control of your data b...
Tape Library Configuration with Zmanda
Zmanda is undoubtedly a globally recognized provider of the leading open-source backup and recovery...
Disaster Recovery and Tape Storages’ Role
Always remember to plan ahead. It wasn't raining when Noah built the ark.~Richard Cushing Desp...
Navigating the Tape Backup Strategy as Part of the Hybrid Cloud Strategy
We're entering a new world where data might be more important than software. ~ Tim O'Reilly In t...
Amazon Glacier for Long-Term Enterprise Storage and Data Protection Needs – A Quick Guide
Enterprises generate large volumes of data daily. But, how much of that data is accessed daily?...
Ideal Amazon S3 Storage Class for Your Data – A Quick Guide
Finding the right Amazon AWS S3 storage class for your data storage requirements is essential to en...
Working With AWS S3: A Brief Overview
“The great growling engine of change-technology” – Alvin Toffler Out of the many great...
10 Steps for Disaster Recovery Planning (DRP) with Zmanda
Natural disasters, ransomware, and human error... Oh my! These and the countless other threa...
Ultimate Disaster Recovery Plan Checklist 2024
Imagine this scenario: Your team is diligently working towards crucial deadlines when suddenly,...
Offsite Backups: Mastering Disaster Recovery—Part 2
In the previous article, I wrote about the seven levels of disaster recovery. Read it here for more...
Mastering Seven Tiers of Disaster Recovery—Part 1
When discussing business continuity plans, it's important to understand the concepts of high availa...
What is Disaster Recovery Testing? Fundamentals and Best Practices
What is the Meaning of Disaster Recovery Testing? Disaster recovery testing simulates real-world...
What is Disaster Recovery and its fundamentals?
“94% of companies suffering from a catastrophic data loss do not survive and 43% never reopen an...

What is a Disaster Recovery Plan (DRP)? Meaning, Importance & Benefits
What is a Disaster Recovery Plan (DRP)? A disaster recovery plan, or an IT disaster recovery pla...
Top 5 Reasons Why Disaster Recovery is a Vital Part of the IT Industry
Disaster recovery is vital for all industries. Disasters can come at any time, and in any shape, ...
How to Get Started with Cloud Disaster Recovery
Did you know that 32% of the total ransomware victims pay the ransom, despite this, they get just 6...